
Heading into the wilderness for a backpacking adventure requires more than just a sense of adventure—it demands thoughtful planning and precise organization. Every item in your backpack has its own role, but your tent is your sanctuary amid the rugged landscape, providing crucial protection from the elements.
Mastering the art of packing your tent is essential for a smooth and successful outdoor journey.
In this guide, we’ll dive into the details of packing your tent for backpacking trips. From selecting the perfect tent to organizing its components in your pack, we’ll cover everything you need to know to maximize space, lighten your load, and ensure easy access to your gear.
Let’s explore the key considerations and strategies for packing your tent, so you can embark on your wilderness adventure with confidence and ease.
Choosing the Ideal Tent

Getting ready for your backpacking adventures begins with selecting the right tent. Here’s what to keep in mind:
Exploring Tent Types:
Backpacking tents come in a variety of styles, each offering distinct benefits. Freestanding tents are a breeze to set up, while non-freestanding models are lighter. Semi-freestanding tents strike a balance between these options.
When picking your tent, think about its weight, interior space, and how well it stands up to the weather.
Weight and Portability:
Tents vary from ultralight options for minimalists to more spacious ones with added features. Consider how much weight you’re comfortable carrying and choose a tent that balances lightweight with functionality.
Opt for tents that pack down compactly to maximize space in your backpack.
Capacity and Interior Space:
Pick a tent size based on how many people will be using it. Remember, backpacking tents tend to be cozy, so go for one that offers enough space for a good night’s rest.
Features like vestibules for gear storage and interior pockets for organization can enhance your comfort.
Seasonal and Weather Adaptability:
Choose a tent that matches the weather conditions you’ll face. Three-season tents are versatile, while four-season tents are built for harsher winter conditions.
Ensure the tent’s rainfly and floor are made from waterproof materials to keep you dry during rainy spells.
Ease of Assembly and Durability:
Prioritize tents that are easy to pitch and built to withstand the rigors of the trail. Look for features like color-coded poles and simple pole clips to make assembly a breeze.
Focus on tents crafted from durable materials that can handle frequent use on your adventures.
By keeping these considerations in mind and choosing a tent that fits your needs, you’ll set yourself up for a comfortable and enjoyable outdoor experience. Take your time to explore various models and invest in a tent that’s right for your backpacking journey.
Disassembling and Folding the Tent
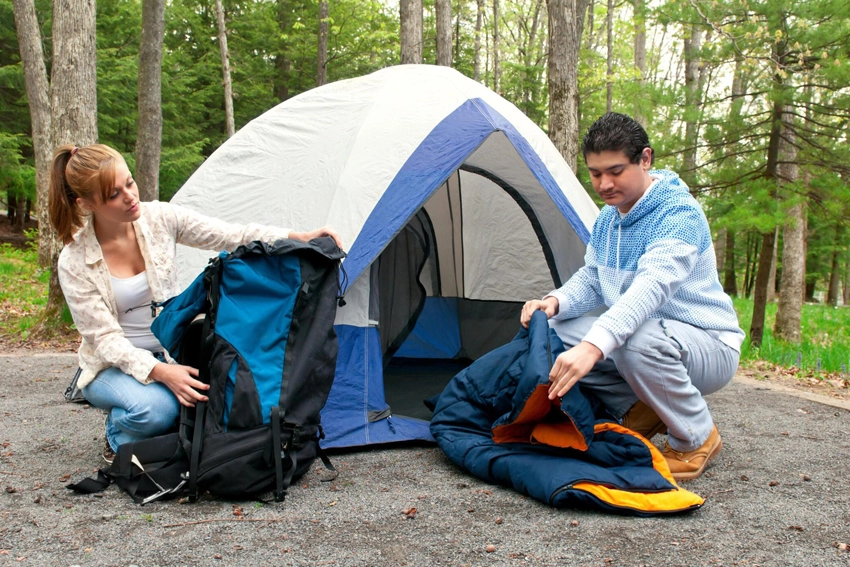
Properly dismantling and storing your tent is key to keeping it in top shape for your next adventure. Follow these easy steps to ensure your tent stays in great condition:
Remove Stakes and Guy Lines:
Begin by pulling out any stakes and guy lines anchoring your tent. Gently remove each stake and make sure the guy lines are loose before coiling them neatly to avoid tangles.
Detach the Rainfly:
If your tent features a separate rainfly, unclip or unzip it from the main tent. Spread the rainfly flat on the ground, then fold or roll it up neatly to keep it compact.
Collapse the Tent Poles:
Fold the tent poles according to the manufacturer’s instructions. Most poles are linked by shock cords, which makes collapsing them into shorter sections straightforward.
Disassemble the Tent Body:
With the poles removed, unclip or unzip the tent body from the poles. Lay it flat and smooth out any wrinkles to make folding easier.
Fold or Roll the Components:
Start with the tent body, folding it lengthwise and then into thirds or quarters based on its size. Do the same for the rainfly, ensuring it matches the size of the folded tent body.
Organize and Secure:
Arrange the folded or rolled components to maximize space in your backpack. Place heavier items like the tent poles at the bottom to evenly distribute the weight. Use compression straps or stuff sacks to keep everything secure and prevent shifting during transport.
Perform Final Checks:
Before packing away your tent, do a final check to make sure all components are properly folded and secured. Look out for any missed stakes or guy lines and inspect the tent and rainfly for any damage or wear that might need fixing.
By following these steps, you’ll ensure your tent remains in excellent condition, ready for your next outdoor adventure!
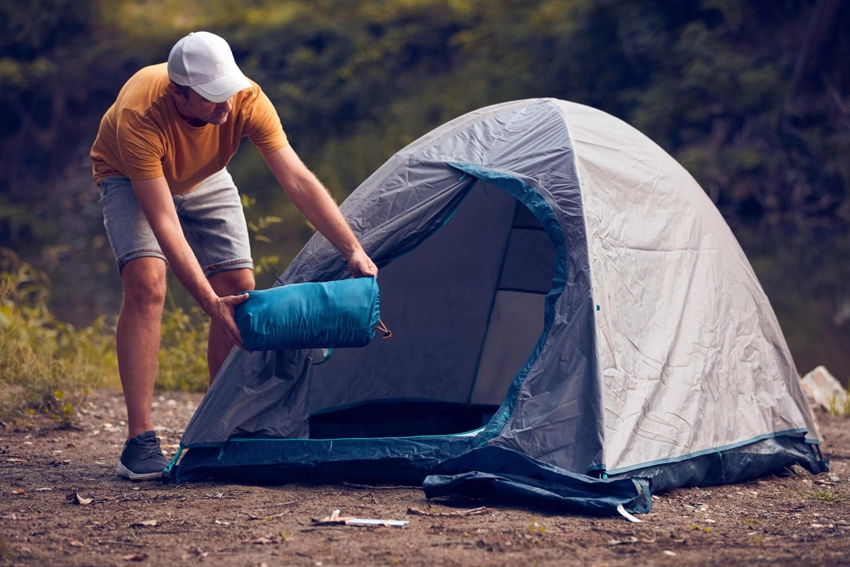
Packing Your Tent in Your Backpack
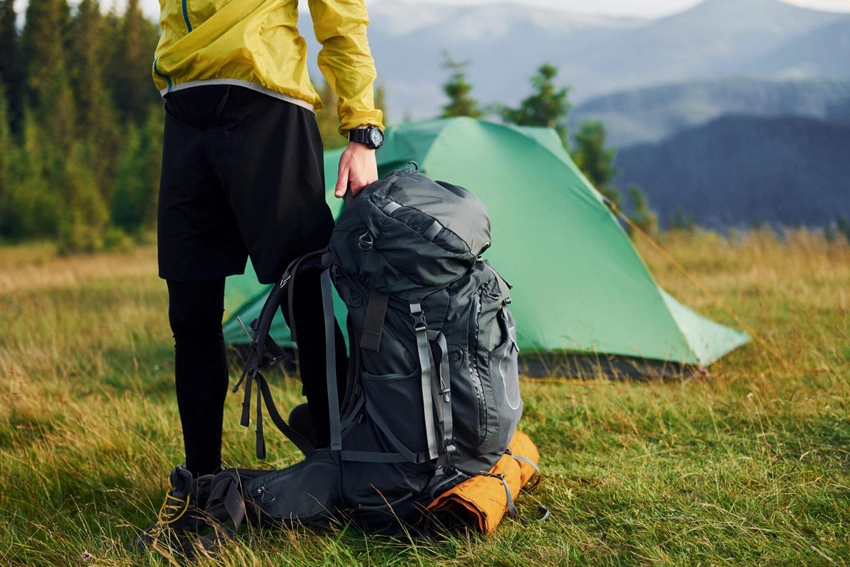
As you gear up for your hiking adventure, packing your tent efficiently can make all the difference. Here are some practical tips to help you get it just right:
Building a Solid Base:
Start by placing the neatly folded tent body or footprint at the bottom of your backpack. This creates a stable foundation for your gear and helps keep the weight evenly distributed.
Organizing Tent Poles:
Slide the collapsed tent poles vertically along the sides of your backpack. Use any internal straps or pockets to secure them in place. Position them where they won’t press uncomfortably against your back while hiking.
Including the Rainfly and Extras:
Layer the folded or rolled rainfly on top of the tent body. Fit it snugly between the tent poles and the main compartment of your pack. If your backpack has external attachment points, you can secure the rainfly there to free up space inside.
Keeping Small Items in Check:
Store smaller accessories like stakes, guy lines, and repair kits in dedicated pockets or compartments within your backpack. Utilize zippered pockets, mesh pouches, or gear loops to keep these essentials organized and easy to access.
Compression and Adjustment:
After packing everything, use internal compression straps or cinch straps to secure and compress the contents of your backpack. Adjust the straps to ensure the weight is balanced and the pack is stable while you’re on the move.
Final Check:
Before you set off, do a quick inspection to make sure everything is packed securely and balanced. Check for any stakes or guy lines that might be sticking out and take steps to protect the rainfly from potential snags or damage.
Proper packing sets the stage for a comfortable and hassle-free hiking experience, so take the time to get it right!
Final Checks and Adjustments
Before setting out on your hike, making sure your tent is packed securely and your backpack is properly adjusted is key to a smooth adventure. Here’s a quick guide to getting it right:
Check Stability and Balance:
Give your backpack a test run by shifting your weight from side to side. Ensure that the weight is evenly distributed and that the backpack feels comfortable and stable on your back.
Inspect Compression Straps:
Make sure all compression straps are tightened to keep your gear compact and prevent shifting. Adjust them as needed to maintain balance and reduce movement.
Confirm Accessibility:
Ensure that essentials like water bottles, snacks, and navigation tools are easy to reach without having to dig through your entire pack. Organize these items so you can grab them quickly when you need them.
Protect the Rainfly:
Check that the rainfly is secured and protected from potential snags. Use compression straps or gear loops to keep any loose fabric in check and avoid damage during your hike.
Ensure Comfort and Fit:
Adjust the shoulder straps, hip belt, and sternum strap to achieve a comfortable and secure fit. Make sure the weight is well-distributed and that the straps don’t dig in or cause discomfort.
Verify Emergency Essentials:
Double-check that emergency items like a first aid kit, navigation tools, and communication devices are easy to access. Know exactly where they are in your pack so you can quickly retrieve them if needed.
Consider Environmental Factors:
Take a moment to assess the weather, terrain, and potential hazards you might encounter. Adjust your gear and packing strategy to be prepared for any challenges that may arise.
By following these steps and making any necessary adjustments, you’ll be set for a safe and enjoyable hiking experience.
In Conclusion
As you wrap up your backpacking preparations, you’re all set to pack your tent efficiently and embark on your adventure with confidence. By carefully selecting your tent, methodically disassembling it, and focusing on minimizing weight, you’ve optimized your space and ensured quick access to all your essentials.
Before you hit the trail, take a moment for final checks and adjustments. Make sure your gear is packed securely and your backpack is adjusted for maximum comfort and stability. Get familiar with your equipment and stay adaptable to the changing environment and terrain challenges.
When it’s time to relax at your campsite, don’t miss our guide to the best backpacking chairs. They’re perfect for unwinding after a day of exploration and soaking in the beauty of your surroundings.
Remember, backpacking is about more than just the hike—it’s about savoring the solitude and forging a deep connection with nature. Whether you’re navigating rugged terrain, setting up your tent beneath a starry sky, or sharing stories around a crackling campfire, each moment underscores your resilience, resourcefulness, and respect for the great outdoors.
As you venture into the wild, may your backpacking journey be filled with unforgettable experiences, meaningful connections, and a profound appreciation for the natural world. Safe travels, and may your adventure be as enriching as the destination itself.

